The TV is often the focal point of a living room, but figuring out how to integrate it into your space without letting it dominate the design can be tricky. Whether you’re working with a cozy apartment or a sprawling open-concept room, smart placement, thoughtful furniture arrangement, and clever design tricks can transform your living room into a comfortable, stylish entertainment hub. This guide walks through practical strategies for TV sizing, wall treatments, furniture layouts, lighting, and cable management, so you can create a living room that looks intentional and functions beautifully for movie nights, game days, and everything in between.
Table of Contents
ToggleKey Takeaways
- Divide your viewing distance by 1.5 to 2.5 to find the ideal TV size, and mount the screen at 42 to 48 inches from the floor for optimal comfort during extended viewing sessions.
- Transform TV living room ideas by using accent walls, wood paneling, stone veneer, or textured wallpaper to add character and help the screen stand out as a design element rather than just a black rectangle.
- Layer multiple light sources—ambient, task, and bias lighting—to reduce eye strain and glare, with LED strips behind the TV creating an immersive viewing experience without overwhelming the room.
- Arrange furniture to balance viewing comfort with conversation, leaving 24 to 36 inches of clearance for traffic flow and using a layered rug to visually define the TV zone in open-concept spaces.
- Use in-wall cable management kits or surface-mounted raceways to hide visible wires, ensuring your carefully designed living room maintains a clean, clutter-free appearance that matches your aesthetic.
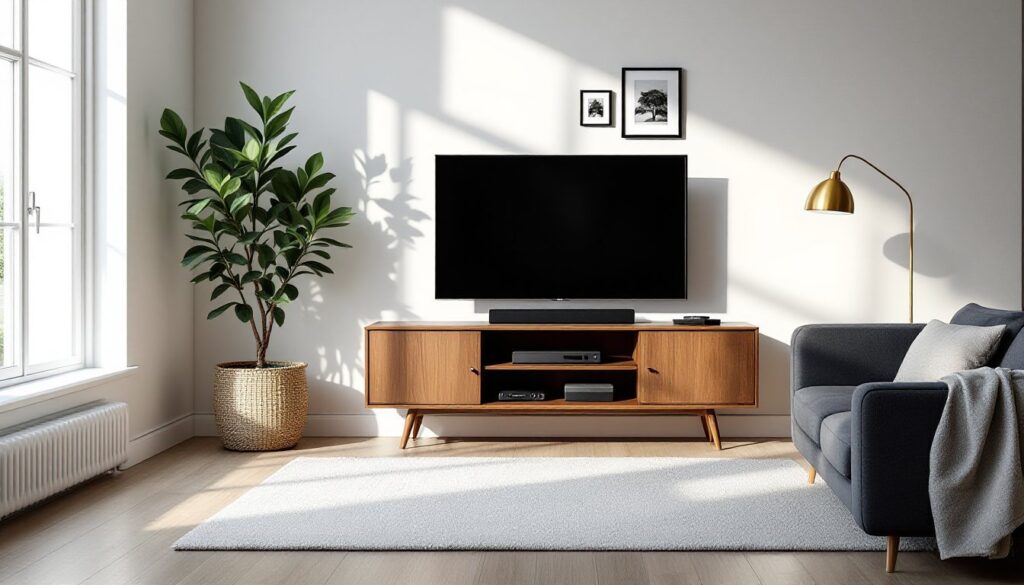
Choosing the Perfect TV Size and Placement for Your Living Room
Getting the size and placement right affects both comfort and aesthetics. The general rule: measure the distance from your seating area to where the TV will mount or sit, then divide by 1.5 to 2.5 to find the ideal diagonal screen size in inches. For example, if your couch sits 8 feet (96 inches) from the wall, a 55- to 65-inch TV typically works well.
Mounting height matters just as much. The center of the screen should sit at or slightly below eye level when seated, usually 42 to 48 inches from the floor to the center of the TV. Mounting too high forces viewers to crane their necks, leading to discomfort during longer viewing sessions.
Consider the room’s natural flow and window placement. Avoid positioning the TV directly opposite a large window, which creates glare during daylight hours. If that’s unavoidable, plan for blackout curtains or adjustable blinds. Corner placement can work in smaller rooms, but it often limits furniture arrangement options and creates awkward viewing angles for some seating.
For open-concept spaces, think about sightlines from adjacent areas. A TV visible from the kitchen or dining area might need a swivel mount or a more central wall position to serve multiple zones without dominating the entire space.
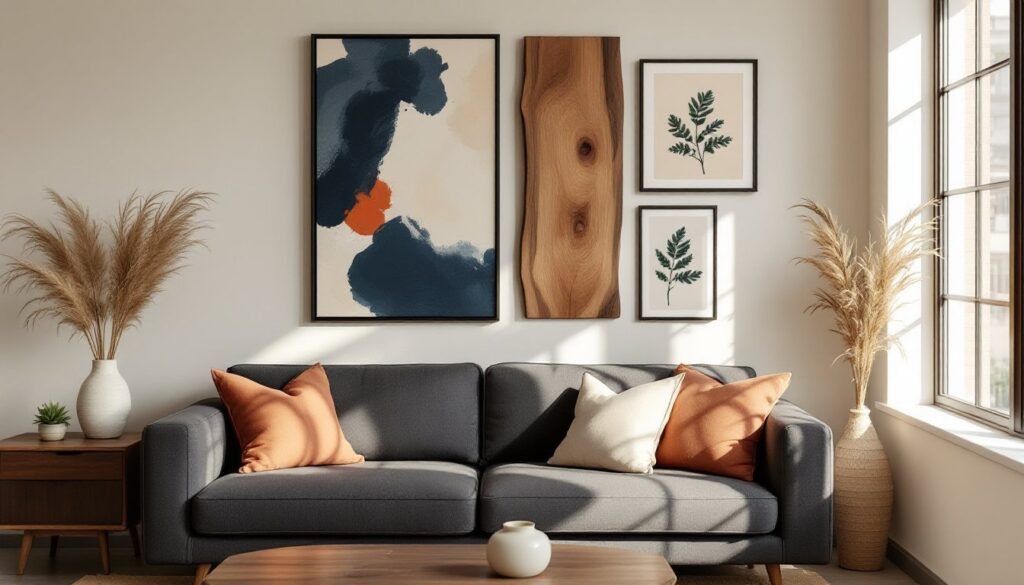
TV Wall Design Ideas That Make a Statement
The wall behind your TV is prime real estate for adding character and depth to the room. Rather than leaving it blank or painting it the same color as the rest of the space, treat it as an opportunity to create visual interest and anchor the TV within a cohesive design.
Accent Walls and Textured Backdrops
Accent walls give the TV wall definition without overwhelming the room. Popular options include:
- Wood paneling: Horizontal shiplap, vertical slats, or reclaimed barnwood add warmth and texture. Use ¾-inch-thick boards for a substantial look, or thinner ½-inch planks for a more subtle profile.
- Stone or brick veneer: Manufactured stone veneer weighs less than full stone (around 8-10 pounds per square foot) and installs with mortar or adhesive. It works especially well in rustic, industrial, or transitional spaces.
- Wallpaper or peel-and-stick panels: Textured wallpaper, grasscloth, geometric patterns, or faux concrete, adds dimension. Peel-and-stick options simplify installation and removal, ideal for renters or anyone who likes to refresh their look.
- Paint treatments: A bold paint color or a two-tone treatment (darker shade behind the TV, lighter on surrounding walls) creates a frame effect. Matte or eggshell finishes reduce glare better than high-gloss.
When selecting materials, consider the TV’s finish. A black TV on a dark wall can blend too much: a lighter or contrasting backdrop helps the screen stand out when off and recede when on.
Built-In Shelving and Custom Cabinetry
Built-ins integrate the TV into the room’s architecture, offering storage and display space while minimizing the “black rectangle” effect. Options range from full floor-to-ceiling units to floating shelves flanking the screen.
For a DIY build, frame the unit with 2×4 studs, then add ¾-inch plywood for shelves and backing. Paint or stain to match trim or create contrast. Include adjustable shelving with shelf pins to accommodate different decor heights. Wire management is simpler with built-ins, run cables inside the framing and add outlet boxes mid-wall for cleaner connections.
Prefab modular systems (like those from IKEA or Crate & Barrel) offer flexibility without custom carpentry. Anchor units to wall studs with 2½-inch wood screws or use toggle bolts for drywall, especially if the TV sits on top rather than wall-mounting.
Leave 2 to 4 inches of clearance around the TV for ventilation, particularly for OLED or older plasma screens that generate more heat. Closed cabinetry with doors can hide components and clutter, but ensure it includes ventilation holes or slatted backs to prevent overheating receivers, consoles, or streaming devices.
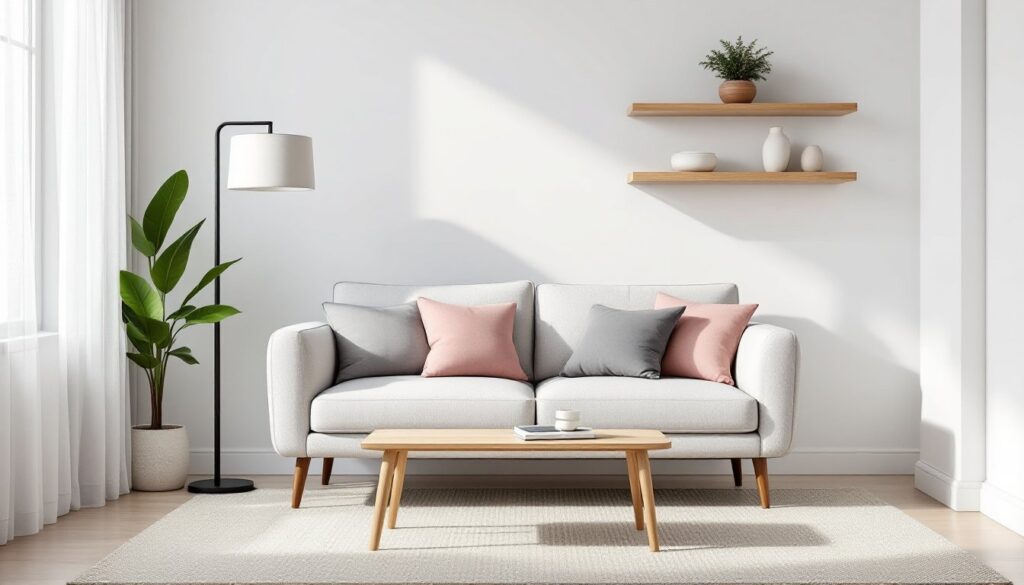
Furniture Arrangement Tips Around Your TV
Furniture layout shapes how the room feels and functions. The goal: arrange seating to prioritize viewing comfort without making the TV the only thing the room’s designed for.
Sofa positioning typically anchors the layout. In most rooms, the sofa faces the TV directly, with additional seating, armchairs, loveseats, or ottomans, angled or perpendicular to encourage conversation as well as viewing. If the room’s large enough, a sectional can wrap around a coffee table, offering multiple viewing angles.
Viewing distance should fall within the recommended range for your TV size. Too close causes eye strain: too far makes details hard to see. If your room’s tight, consider a smaller screen or a wall mount that brings the TV slightly forward.
Avoid blocking walkways or creating tight squeezes between furniture and walls. Leave at least 24 to 36 inches of clearance for traffic flow, especially in high-use paths between rooms.
Layering rugs under seating groups visually defines the TV zone, especially in open layouts. A rug should extend under the front legs of sofas and chairs, at least an 8×10-foot rug for most living rooms, 9×12 for larger spaces.
If your living room serves multiple functions (play area, reading nook, workspace), use furniture to subtly zone the space. A console table behind the sofa, a bookshelf as a room divider, or a pair of chairs facing away from the TV can create distinct areas without walls.
Many of the best furniture arrangement strategies balance viewing comfort with conversational groupings, ensuring the room doesn’t feel like a one-dimensional theater.
Lighting Solutions to Enhance Your TV Viewing Experience
Good lighting reduces eye strain, minimizes screen glare, and sets the right mood for different times of day. The key is layering light sources rather than relying on a single overhead fixture.
Ambient lighting provides overall illumination. Recessed ceiling lights on dimmer switches let you adjust brightness for daytime TV watching or evening movies. Aim for soft white bulbs (2700-3000K) to keep the room warm and comfortable.
Task lighting, table lamps, floor lamps, or wall sconces, adds focused light for reading or other activities without washing out the screen. Position lamps to the side or behind seating, not directly in your sightline or reflecting off the TV.
Accent or bias lighting is a game-changer for serious viewers. LED strip lights mounted on the back of the TV or along the wall behind it reduce eye fatigue by softening the contrast between the bright screen and dark surroundings. Look for USB-powered LED strips that attach with adhesive backing, most draw under 10 watts and are dimmable.
Avoid placing lamps or windows directly behind the TV, which creates backlighting that washes out picture quality. If windows are unavoidable, install blackout or cellular shades to control natural light during viewing.
Smart bulbs and lighting systems (Philips Hue, LIFX, Govee) sync with your TV to create immersive ambient effects that shift color based on on-screen content. They’re optional but can elevate the experience for home theater enthusiasts. Many design-forward homes featured on HGTV incorporate layered lighting to balance aesthetics and function.
Hiding Cables and Creating a Clean, Clutter-Free Look
Visible cables undermine even the best-designed living room. Fortunately, there are several straightforward ways to manage wires, from in-wall concealment to surface-mounted solutions.
In-wall cable management is the cleanest option for wall-mounted TVs. Install a recessed cable management kit (also called a power bridge or cable raceway) that routes cables inside the wall between two openings, one behind the TV, one near the floor for components. These kits typically include low-voltage cable pass-through and a separate power outlet, compliant with NEC (National Electrical Code) requirements. Running standard power cables inside walls without a kit violates code and poses fire risks. If you’re uncomfortable with electrical work, hire a licensed electrician, it’s usually a quick job.
For renters or simpler installs, surface-mounted cable raceways or cord covers hide cables against the wall. They’re paintable to match your wall color and attach with adhesive strips or small screws. Measure the vertical distance from TV to components, then cut the raceway to length with a hacksaw or utility knife.
Cable management sleeves or Velcro ties bundle loose wires behind TV stands or consoles. Group cables by type (HDMI, power, audio) and secure them at intervals to prevent tangling.
If the TV sits on a stand, look for furniture with built-in wire management, cutouts in the back panel or channels along the legs. Thread cables through these before placing components to keep everything organized from the start.
For wireless setups, consider streaming devices, Bluetooth speakers, or wireless HDMI kits to reduce cable count. Not everything can go wireless (power still requires a plug), but cutting even a few cables simplifies the setup.
Finally, label cables with small tags or colored tape, especially helpful when troubleshooting or rearranging. Inspiration for sleek, clutter-free spaces appears often on sites like Homedit, where thoughtful cable management supports minimalist aesthetics.
Safety note: Always unplug devices before running or securing cables. Use cable clips rated for the weight and thickness of your cords, and keep power cables away from heat sources or high-traffic areas where they could become tripping hazards.