Blank walls are wasted real estate. A living room can have the perfect furniture layout, the right lighting, and a functional floor plan, but without thoughtful wall decor, it feels unfinished. Most homeowners default to a framed print or two, maybe a mirror above the sofa, and call it done. That’s not wrong, but it’s not memorable either. Unique wall decor sets the tone for the entire room, adds personality, and solves practical problems like acoustics and visual balance. Whether working with drywall, plaster, or wood paneling, there are dozens of creative, buildable, and budget-conscious ways to turn vertical surfaces into focal points.
Table of Contents
ToggleKey Takeaways
- Unique living room wall decor transforms blank walls into focal points that reflect personality, improve acoustics, and enhance visual balance without requiring permanent structural changes.
- Statement pieces like oversized textiles, metal sculptures, and salvaged architectural elements work best when properly scaled and securely mounted to studs or appropriate wall anchors.
- Textured wall solutions—wood slat panels, cork tiles, and plaster relief art—add three-dimensional depth and visual interest while solving practical problems like sound absorption.
- DIY projects like framed fabric panels, floating shelves, and shadow boxes make unique wall decor accessible and affordable using basic tools and common materials from home centers.
- Gallery walls succeed through intentional design: start with an anchor piece, maintain consistent spacing, mix complementary frames and materials, and use a unified color story or theme to avoid chaos.
- Upcycled and sustainable wall decor from reclaimed wood, vintage window frames, and salvaged materials creates one-of-a-kind character while being budget-friendly and environmentally conscious.
Why Your Living Room Walls Deserve More Than Generic Art
The difference between a living room that looks staged and one that feels lived-in often comes down to what’s on the walls. Generic art, mass-produced canvases from big-box stores or hotel-lobby abstracts, doesn’t tell a story. It fills space but doesn’t anchor a room or reflect the people in it.
Wall decor does more than look good. It absorbs sound in rooms with hard flooring, balances architectural features like windows or doorways, and draws the eye upward to make ceilings feel higher. In open-concept layouts, wall treatments help define zones without adding permanent dividers.
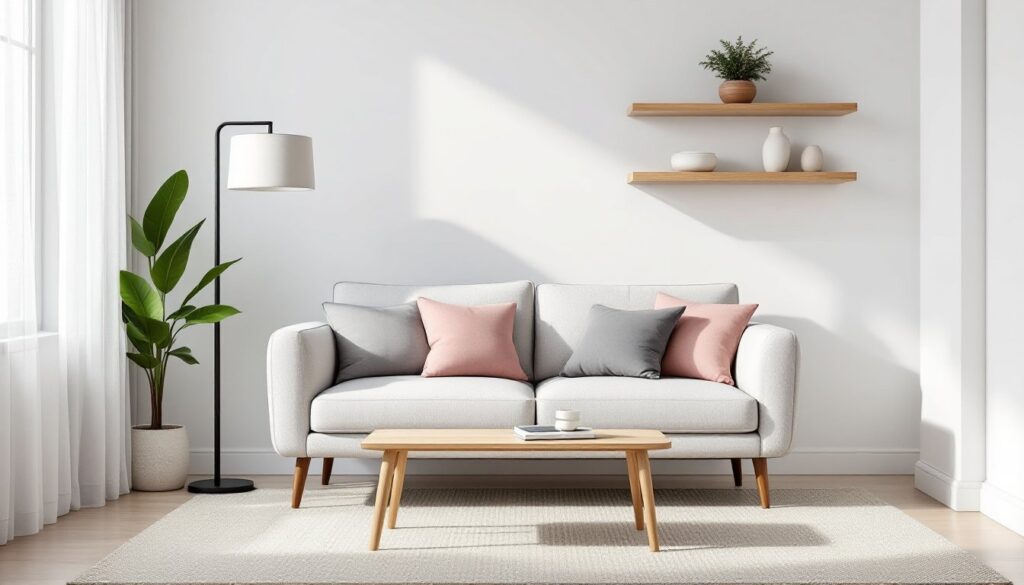
The best wall decor works with the room’s existing features. A gallery wall with mixed textures pairs well with minimalist furniture. Oversized pieces complement rooms with high ceilings or long, unbroken spans of drywall. Textured or three-dimensional elements add warmth to spaces with lots of glass or metal. It’s about proportion, material contrast, and intentionality, not just filling every inch.
Statement Wall Hangings That Break the Mold
Statement pieces work when they’re scaled correctly and mounted securely. A single oversized element, woven tapestry, metal sculpture, or salvaged architectural fragment, can anchor a wall better than a cluster of small frames.
Large-format woven textiles (macramé, kilim rugs, hand-tufted wall hangings) add texture and sound absorption. Mount these with a 1×2 or 1×3 furring strip screwed into studs, then hang the textile from the strip using clips or a dowel rod slid through a sleeve. This keeps the weight distributed and prevents sagging.
Metal wall sculptures made from steel, copper, or reclaimed materials create depth and reflect light. Most weigh between 10 and 40 pounds, so use heavy-duty wall anchors rated for drywall or toggle bolts if studs aren’t accessible. For plaster walls, drill pilot holes to avoid cracking and use expanding anchors.
Salvaged architectural pieces, old window frames, iron gates, barn wood panels, bring character but require prep. Sand or wire-brush rusty metal, seal raw wood with a clear matte polyurethane to prevent splinters and insect damage, and check for lead paint if the piece predates 1978. Mount with French cleats for easy removal and weight distribution.
Textured Wall Decor for Depth and Dimension
Flat walls benefit from three-dimensional decor that creates shadow lines and visual interest throughout the day.
Wood slat walls or batten panels can be built as removable sections. Use 1×2 or 1×3 poplar or pine, spaced 4 to 8 inches apart, mounted to a plywood backer. Attach the backer to wall studs with 2.5-inch screws. This creates a modern, tactile surface and hides minor wall imperfections. Prime and paint before installation to save time.
Cork tiles or acoustic panels serve double duty, decor and sound dampening. They come in 12×12-inch or larger squares and can be adhered with construction adhesive or double-sided mounting tape. Arrange them in geometric patterns or organic clusters for a unique look.
Plaster or clay relief art adds an organic, handmade feel. These pieces are heavy (often 15–30 pounds), so secure them with picture-hanging wire and D-rings screwed into the back frame, then hang from wall-mounted hooks rated for the weight. Always mount into studs or use appropriate anchors for hollow walls.
DIY Living Room Wall Decor Projects Anyone Can Tackle
DIY wall decor doesn’t require a full shop. These projects use common tools and materials available at most home centers.
Framed fabric panels turn upholstery remnants or vintage textiles into art. Buy unfinished wood stretcher bars (sold in pairs), assemble into rectangles, and staple fabric taut across the back using a staple gun with 1/4-inch or 3/8-inch staples. Start at the center of each side and work outward to avoid puckering. Hang like a canvas.
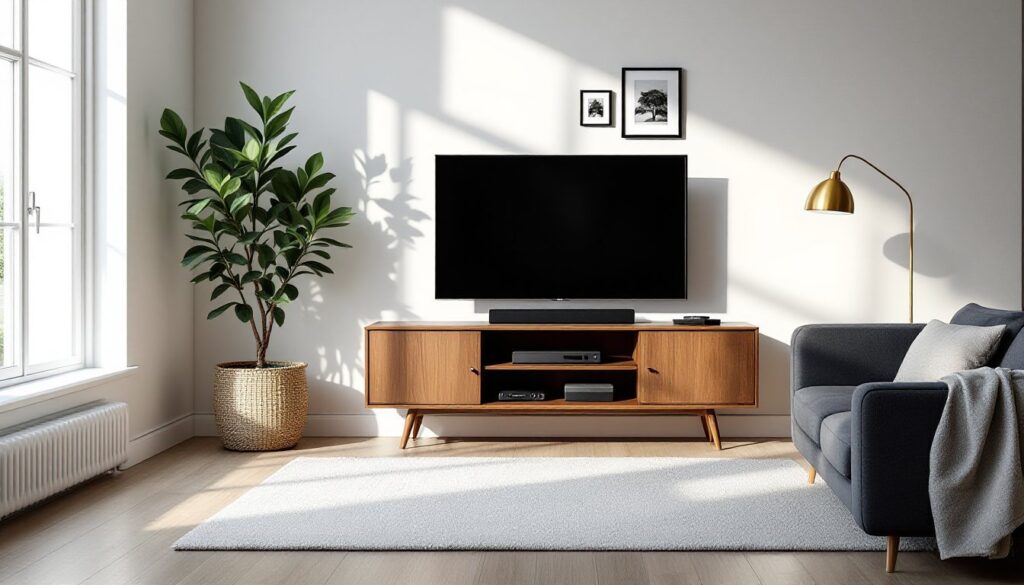
Floating shelves with curated objects add function and visual weight. Build simple shelves from 1×6 or 1×8 pine or poplar, finished with stain or paint, and mount with hidden shelf brackets or a French cleat system. Display small sculptures, plants in cachepots, or stacked books. Keep the arrangement asymmetrical but balanced.
Peg rails or Shaker-style peg boards offer flexible hanging space for lightweight decor, hats, or trailing plants. Rout or drill evenly spaced holes in a 1×4 board, glue in wooden dowels (cut to 3–4 inches), and mount the board to studs with 3-inch screws. Prime and paint before installing pegs.
Shadow boxes for collections work well for small objects, vintage cameras, tools, shells, or memorabilia. Buy unfinished shadow box frames or build simple boxes from 1×2 lumber and 1/4-inch plywood backs. Use hot glue or small wire to secure objects inside, then hang with sawtooth hangers or D-rings.
All of these projects benefit from a level, a stud finder, and patience. Measure twice, drill once. Use safety glasses when cutting or drilling, and a dust mask when sanding.
Sustainable and Upcycled Wall Decor Ideas
Upcycling turns would-be trash into one-of-a-kind decor. It’s cheaper, more sustainable, and often more interesting than buying new.
Reclaimed wood feature walls can be built from pallet wood, old fencing, or barn siding. Inspect all wood for nails, screws, and rot before cutting. Remove fasteners with a pry bar or nail puller, then clean with a stiff brush. Let wood acclimate indoors for at least 48 hours to prevent warping. Attach boards directly to studs with finish nails or construction adhesive, varying plank widths and tones for texture. Seal with matte polyurethane or leave raw for a weathered look.
Vintage window frames make great multi-photo displays. Remove old glass carefully (wear cut-resistant gloves), sand the frame, and either paint or leave the original finish. Attach photos or art with small clips or mount prints behind the empty panes using double-sided tape. Hang with heavy-duty picture hooks.
Upcycled shutters, doors, or ladder sections bring architectural interest. Clean thoroughly, prime any raw wood, and paint or stain as desired. Lean tall pieces against the wall for a casual look, or secure them with L-brackets screwed into studs to prevent tipping, especially important in homes with kids or pets.
When working with salvaged materials for budget makeovers, always check for lead paint (test kits are under $10) and treat for pests if the wood has been stored outdoors. Seal knots in pine or fir with shellac-based primer to prevent bleed-through.
Mixing Materials and Styles for a Personalized Gallery Wall
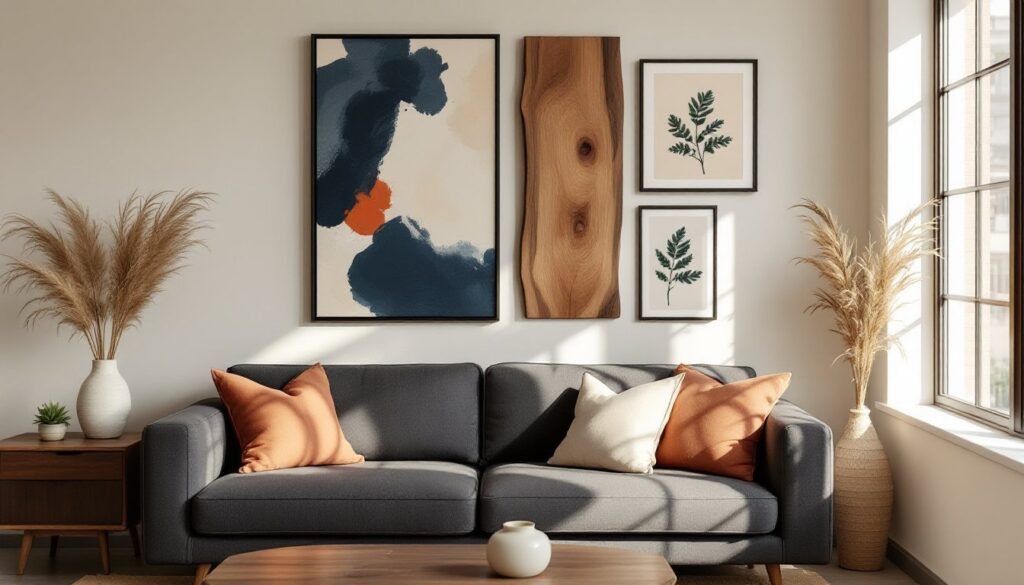
Gallery walls fail when they’re either too matchy or too chaotic. The goal is cohesive variety, different frames, subjects, and materials that share a common thread.
Start with an anchor piece, the largest frame or object, and build outward. Lay everything on the floor first and photograph the arrangement before committing to nail holes. Keep spacing consistent: 2 to 3 inches between frames works for most layouts.
Mix frame materials and finishes: combine wood, metal, and painted frames in complementary tones. A matte black metal frame pairs well with natural oak or walnut. Avoid high-gloss finishes unless the room has a modern, reflective palette.
Vary the content: combine prints, photographs, small mirrors, shallow shadow boxes, and dimensional objects like small wreaths or mounted textiles. This breaks up visual monotony and adds depth.
Use a common color story or theme to unify the collection. All black-and-white images with varied subjects, or color prints in similar tonal ranges, or all botanical subjects in different media. The design approach that interior designers recommend often includes repeating one or two accent colors across different frames.
Hang with precision: use a laser level or bubble level and mark all holes lightly with a pencil before drilling. For a grid layout, align tops or bottoms. For an organic salon-style layout, keep a consistent visual weight across the wall, heavier pieces on the bottom or sides, lighter ones filling gaps.
Don’t rush it. A good gallery wall evolves over time as you add pieces. Use removable adhesive strips for lightweight frames if you want flexibility, or picture-hanging hooks rated for the frame weight. For drywall, a simple finish nail works for frames under 5 pounds: anything heavier needs an anchor or stud.
Safety note: anchor the bottom edge of heavy frames or shelves with earthquake putty or small L-brackets if the wall is in a high-traffic area or a home with children.
Conclusion
Living room walls don’t need to be afterthoughts. With the right mix of texture, scale, and intentionality, they become the defining feature of a space. Whether building a wood slat accent wall, hanging a gallery of upcycled frames, or mounting a single statement sculpture, the key is choosing decor that reflects how the room is actually used. Start with one strong idea, measure carefully, and don’t skip the prep work. The walls will thank you.